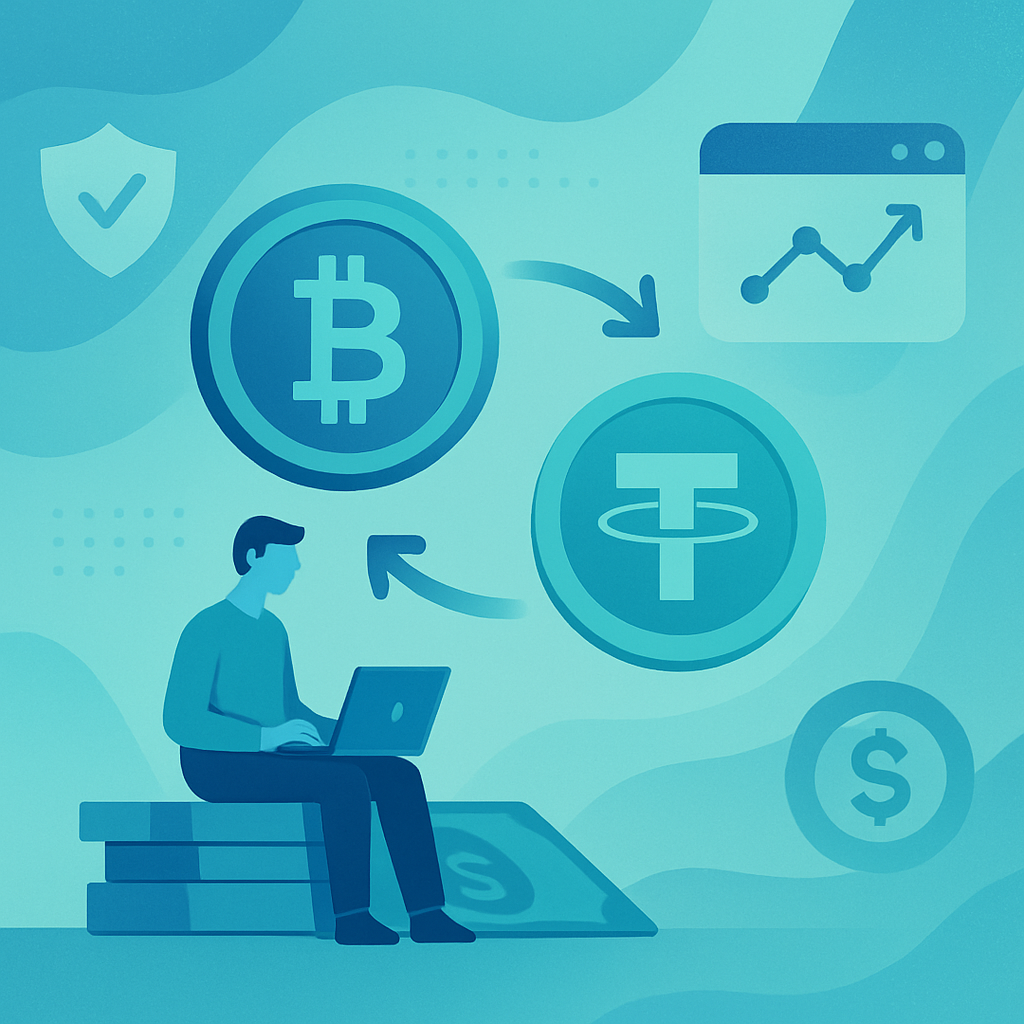
BTC to USDT Guide: Fast, Private Swaps Explained
Want to lock in Bitcoin profits into stable USDT? Learn how to swap BTC to USDT fast, privately, and at great rates using a non‑custodial, no‑KYC exchange.
| Method | KYC Required | Who Holds Your Funds? | Typical Speed | Privacy Level |
|---|---|---|---|---|
| Centralized exchange (CEX) | Yes (always) | Exchange (custodial) | 10–60+ minutes | Low |
| P2P marketplace | Often yes | Escrow / counterparty | 30–120+ minutes | Medium |
| SwapRocket (non‑custodial swap) | No | You (your wallet) | 5–20 minutes | High |
You’ve just watched Bitcoin jump 15% in a week.
Your portfolio looks great… but you also know BTC can drop 15% overnight just as easily.
This is exactly why so many traders move BTC to USDT: to lock in gains, reduce volatility, and stay ready for the next opportunity — without cashing out to a bank.
In this guide, you’ll learn how to convert BTC to USDT quickly, safely, and privately using a non‑custodial, no‑KYC swap like SwapRocket.
---
TL;DR – BTC to USDT in a Nutshell
- Why convert BTC to USDT? Lock in profits, avoid volatility, and move funds between trades while staying in crypto.
- Best method: Use a non‑custodial, no‑KYC instant swap like SwapRocket for speed, privacy, and control of your keys.
- How long it takes: Typically 5–20 minutes, depending on Bitcoin network congestion.
- How to start: Go to the BTC to USDT converter at /converter/btc/usdt, enter your amount, and send BTC from your wallet.
- Bonus: You stay anonymous (no KYC), your funds never sit on a centralized exchange, and you can swap 200+ coins.
---
Why Traders Convert BTC to USDT
Think of USDT (Tether) as the “stable parking spot” for your crypto.
It’s pegged to the US dollar (1 USDT ≈ 1 USD), so when you move from BTC to USDT, you’re basically stepping off the roller coaster into a stable car — without leaving the theme park.
Here’s why that matters.
1. Lock in profits without cashing out
Say you bought 0.5 BTC at $30,000.
BTC moves to $45,000. Your 0.5 BTC is now worth $22,500.
If you:
- Do nothing: You’re exposed. If BTC drops back to $35,000, your 0.5 BTC falls to $17,500.
- Convert BTC to USDT: You swap 0.5 BTC to around 22,500 USDT (minus small fees). Even if Bitcoin dumps 20%, you still hold ~22,500 USDT.
You’ve effectively locked in your gains, while staying fully in crypto.
2. Hedge against volatility
If you’re actively trading, holding 100% in BTC is risky.
By shifting a portion from BTC to USDT you can:
- Reduce portfolio swings
- Sleep better during high‑volatility events
- Keep dry powder ready to buy dips in BTC or altcoins
Many traders keep 30–60% of their trading stack in stablecoins like USDT during uncertain markets.
3. Move capital between opportunities
USDT is the “universal trading chip” of crypto.
Once you have USDT, you can quickly:
- Buy altcoins
- Provide liquidity on DeFi platforms
- Move funds between exchanges
- Cash out to fiat using services like /sell-crypto
It’s much easier to hop around the ecosystem with USDT on fast networks (like TRC20 or BSC) than constantly moving BTC.
4. Avoid banking friction (and questions)
If you move large amounts from crypto to bank accounts, you often trigger:
- Extra checks
- Delays
- Annoying questions from your bank
By staying in USDT, you can sit in stable value inside crypto, without involving banks until you actually need fiat.
---
What “BTC to USDT” Actually Means (And Which Chain to Use)
At a high level, BTC to USDT just means:
You send Bitcoin in, and you receive Tether (USDT) out.
But there’s one important detail: which USDT network you choose.
USDT exists on multiple blockchains:
- USDT-ERC20 (Ethereum) – very common, but gas fees can be higher
- USDT-TRC20 (Tron) – low fees, fast confirmations, popular for transfers
- USDT-BEP20 (BNB Chain) – cheap and fast, used heavily in DeFi
- Other chains supported on SwapRocket (see /supported-cryptocurrencies)
When you convert BTC to USDT on SwapRocket, you’ll choose which chain you want to receive your USDT on. Always match this with:
- The network your wallet supports, and
- The network your next step requires (exchange, DeFi app, etc.)
---
Ways to Swap BTC to USDT (and Why Non‑Custodial Wins)
You have three main options to convert BTC to USDT:
- Centralized exchanges (CEXs) – e.g. Binance, Coinbase
- P2P marketplaces
- Non‑custodial, no‑KYC instant swaps – like SwapRocket
Here’s how they stack up.
Comparison: BTC to USDT Methods
#### 1. Centralized exchanges
CEXs are familiar, but come with trade‑offs:
- Mandatory KYC – ID, selfies, sometimes proof of funds
- Custodial risk – your crypto is held on their balance sheet
- Withdrawal limits & delays – especially for new accounts or big amounts
- Geo‑restrictions – users from some countries are blocked
If you just want a simple BTC to USDT swap, this is often overkill.
#### 2. P2P marketplaces
P2P platforms match you with other users.
Pros:
- Good for fiat on‑/off‑ramping in some regions
- Multiple payment methods
Cons for BTC → USDT swaps:
- Slow, with negotiation and waiting for counterparties
- Scam risk and disputes
- Often require at least basic KYC
P2P is great when you need fiat, but not ideal if you just want BTC to USDT inside crypto.
#### 3. Non‑custodial swaps (SwapRocket)
SwapRocket takes a different approach:
- Non‑custodial – you send crypto from your wallet, you receive crypto back to your wallet. No long‑term storage.
- No KYC – no ID upload, no selfies, no account registration.
- Fast – most BTC to USDT swaps complete in 5–20 minutes, depending on confirmations.
- 200+ coins supported – you’re not limited to BTC/USDT; you can later move into XMR, ETH, SOL, and more.
It’s like using a crypto currency converter at /converter, but built for privacy‑minded traders.
If you later want to move BTC into privacy coins, you can also follow our Bitcoin to Monero guide for a no‑KYC route.
---
Step‑by‑Step: Convert BTC to USDT on SwapRocket
Let’s walk through a real BTC to USDT swap using SwapRocket.
You’ll need:
- Some BTC in your own wallet (hardware, mobile, or desktop)
- A USDT‑compatible wallet address (ERC20, TRC20, etc.)
Step 1: Open the BTC to USDT converter
Go to the BTC to USDT converter:
- Direct link: /converter/btc/usdt
- Or start from the main /exchange page and choose BTC → USDT
You’ll see a clean interface with:
- You send: BTC
- You get: USDT (you can choose the desired network)
Step 2: Enter the amount of BTC you want to swap
Type how much BTC you want to convert.
Example:
- You enter 0.25 BTC.
- The interface shows an estimated amount of USDT you’ll receive (e.g., 0.25 BTC ≈ 16,800 USDT, depending on the current market rate).
SwapRocket aggregates liquidity across multiple providers, so you typically get highly competitive rates without manually shopping around.
Step 3: Choose your USDT network
This part is important.
- If your wallet only supports USDT-TRC20, select TRC20.
- If you plan to use Ethereum DeFi, select USDT-ERC20.
- If you’re on BNB Chain, choose USDT-BEP20.
Always make sure the network matches your destination wallet. Sending USDT to the wrong network can result in permanent loss.
Step 4: Enter your USDT receiving address
Paste your USDT wallet address in the receiving field.
Double‑check:
- The address is correct
- The network matches (TRC20, ERC20, etc.)
A quick tip: send a small test transaction if you’re nervous or it’s your first time using that address.
Step 5: Review the rate and details
Before confirming, you’ll see:
- Estimated USDT amount you will receive
- Network fees baked into the transaction
- A time window for sending your BTC
If everything looks good, confirm to generate a BTC deposit address.
Step 6: Send BTC from your wallet
Now open your Bitcoin wallet and:
- Paste the BTC address SwapRocket shows you
- Enter the exact BTC amount (e.g., 0.25 BTC)
- Confirm and send
Important:
- Always send within the time window shown
- Make sure the amount matches what was quoted (or use the "max" option correctly, accounting for any wallet fee)
Step 7: Wait for confirmations and receive USDT
Once you’ve sent BTC:
- SwapRocket waits for enough Bitcoin confirmations (usually 1–6, depending on network conditions and partners).
- Then it executes the swap and sends USDT to your receiving address.
Typical timing:
- BTC confirmations: 5–30 minutes, depending on congestion and fee
- Swap processing: usually a few minutes after confirmation
Most BTC to USDT swaps complete in 5–20 minutes. You can monitor progress in your browser while you wait.
If you have any questions during the process, the main /faq page covers the most common issues.
---
How to Get the Best BTC to USDT Rate
Crypto markets move fast, but a few simple habits can help you squeeze more USDT out of every BTC swap.
1. Watch the BTC/USDT market trend
If BTC is spiking hard, spreads can widen.
Things to consider:
- During high volatility, it can be worth waiting a few minutes for spreads to settle
- During low‑liquidity hours, rates may be slightly worse
A practical approach:
- Decide your target: e.g., "If BTC hits $48,000, I’ll convert 0.3 BTC to USDT"
- Use alerts from exchanges or apps
- When your level hits, head to /converter/btc/usdt and execute your swap
2. Choose the right USDT network
Your choice of network affects fees and speed.
Rough ballpark (these change, but directionally):
- TRC20 – Often a few cents per transfer, very fast
- BEP20 – Also cheap and fast
- ERC20 – Can be a few dollars up to tens of dollars during congestion
So, if you just need USDT for transfers or centralized exchanges, TRC20 is often the most cost‑effective.
3. Avoid unnecessary double swaps
Some users do this by accident:
BTC → another coin → USDT
Each hop adds:
- More fees
- More slippage risk
Using a direct BTC → USDT route with a dedicated converter like SwapRocket is usually simpler and cheaper.
4. Use a non‑custodial aggregator rather than a single venue
SwapRocket aggregates liquidity across providers to find competitive BTC/USDT quotes.
This can save you from having to:
- Register on multiple exchanges
- Compare order books manually
- KYC everywhere just to chase a slightly better rate
Instead, you get one clean interface and benefit from aggregated pricing in the background.
---
Fees When Converting BTC to USDT (What You Actually Pay)
Let’s break down what happens fee‑wise when you swap BTC to USDT.
With a non‑custodial exchange like SwapRocket, you’ll usually encounter:
- Bitcoin network fee – Paid to miners when you send BTC from your wallet.
- Service fee / spread – Small cut that keeps the swap service running.
- USDT network fee – Sometimes included when sending out USDT on the chosen chain.
Example:
You swap 0.25 BTC when BTC is $42,000.
- Gross value: 0.25 × $42,000 = $10,500
- After all fees, you might receive around 10,430–10,470 USDT
So total cost may be around 0.3–0.7%, depending on network conditions.
Compare that to:
- CEX deposit fee (sometimes free, sometimes not)
- Trading fee (0.1–0.75% common)
- Withdrawal fee (can be several USDT or more)
Once you add up all of those, non‑custodial swaps are often competitive or cheaper, especially when you value privacy and time.
---
Safety Tips for BTC to USDT Swaps
Crypto transactions are irreversible, so a short checklist goes a long way.
Before you hit send on your BTC:
- Check URLs carefully – Always verify you’re on
swaprocket.io. - Verify the destination network – If you choose USDT‑TRC20, your wallet must support TRC20.
- Double‑check addresses – Compare the first and last 4–6 characters.
- Avoid copy‑paste malware – If possible, use QR codes or trusted devices.
- Start with a small test – For big amounts, send a smaller test swap first.
And remember: with non‑custodial platforms, you are always in charge of your own wallets. That’s a good thing — but it also means you must stay sharp.
---
BTC to USDT vs Other BTC Swaps
BTC to USDT is just one move in your playbook.
You might also want to:
- Rotate BTC into Ethereum for DeFi – see our Bitcoin to Ethereum guide
- Move BTC into privacy coins like XMR – see the full Bitcoin to Monero no‑KYC guide
SwapRocket supports all of these paths through a single, simple interface at /exchange.
So you could:
- Take profits from BTC to USDT
- Later convert some USDT to ETH via /exchange/eth-to-usdt or a reverse path
- Or move from BTC directly to XMR using /exchange/btc-to-xmr
You stay in control the whole way — no accounts, no custodial risk.
---
Where BTC to USDT Fits in Your Strategy
Here’s how different types of users typically use BTC → USDT swaps.
Short‑term traders
They use USDT as a parking lot between trades:
- Take profits quickly when BTC rallies
- Sit in USDT while waiting for a clearer setup
- Rotate USDT into altcoins on opportunities
For them, speed and rates on swaps matter a lot — which is where instant, non‑custodial swaps shine.
Long‑term holders (HODLers)
Even if you’re a HODLer, there are times when partial de‑risking makes sense:
- During parabolic moves when BTC feels overheated
- Before big macro events (Fed meetings, regulatory news)
You might move 10–30% of your stack from BTC to USDT to sleep better, while keeping the rest in cold storage.
People moving money across borders
In some regions, USDT is used as a dollar substitute.
Workflow often looks like:
- Earn or receive BTC
- Convert BTC to USDT through a no‑KYC swap
- Send USDT (TRC20 or BEP20) to friends, family, or local exchanges
In these cases, low fees, fast networks, and privacy are all essential — exactly what a platform like SwapRocket is built for.
---
BTC to USDT Without an Exchange Account (No KYC Needed)
One of the biggest reasons people avoid CEXs is KYC fatigue.
Every new account asks for:
- Full legal name
- ID documents
- Selfie videos
- Sometimes proof of income or source of funds
If all you want is a simple BTC to USDT swap, that’s a lot.
With SwapRocket:
- No account required
- No KYC ever asked
- No login needed
You just:
- Open the BTC to USDT page at /converter/btc/usdt
- Enter your swap details
- Save your swap status URL (for tracking)
- Send BTC, receive USDT
That’s it.
If you later want to on‑ or off‑ramp with fiat, you can still use services under /buy-crypto or /sell-crypto, but your on‑chain swaps themselves stay private and non‑custodial.
---
Quick Checklist Before Your First BTC to USDT Swap
Here’s a 60‑second pre‑swap checklist you can keep open in another tab:
- [ ] I know why I’m swapping (profit taking, hedging, or moving funds)
- [ ] I’ve chosen the right USDT network for my wallet
- [ ] I’ve copied my USDT address correctly
- [ ] I understand the estimated USDT output and am okay with it
- [ ] I’m sending BTC within the given time window
- [ ] For a large amount, I considered doing a small test swap first
If any of these feel shaky, check the /faq or reach out via /contact before sending large amounts.
---
Related Reading
If you found this BTC to USDT guide useful, you’ll probably like these too:
- Exchange BTC to Monero (XMR) with No KYC – for privacy‑focused users who want to move from BTC into XMR.
- Exchange BTC to Ethereum (ETH) with No KYC – for traders heading into the Ethereum DeFi ecosystem.
You can also browse more guides and tips on the main /blog page.
---
Ready to Convert BTC to USDT Privately?
If you:
- Want to lock in Bitcoin profits without touching your bank
- Prefer no KYC, no account, no custody risk
- Value fast swaps and competitive rates
Then using a non‑custodial swap is likely your best move.
Head over to the BTC to USDT converter at /converter/btc/usdt, enter your amount, pick your USDT network, and complete your first private swap in minutes.
You stay in control of your keys. SwapRocket handles the heavy lifting in the background.
Convert your BTC to USDT on your terms — fast, simple, and privacy‑first.
SwapRocket Team
Crypto Exchange Experts
The SwapRocket team provides expert insights on cryptocurrency exchanges and privacy-focused trading.
Swap Now — No KYC Required
Follow the steps above and start your swap in under a minute. Non-custodial, anonymous, and fast.